
API keys
An API key lets a program act for your server. It can do exactly what you allowed when you made it, and nothing else.
Making a key
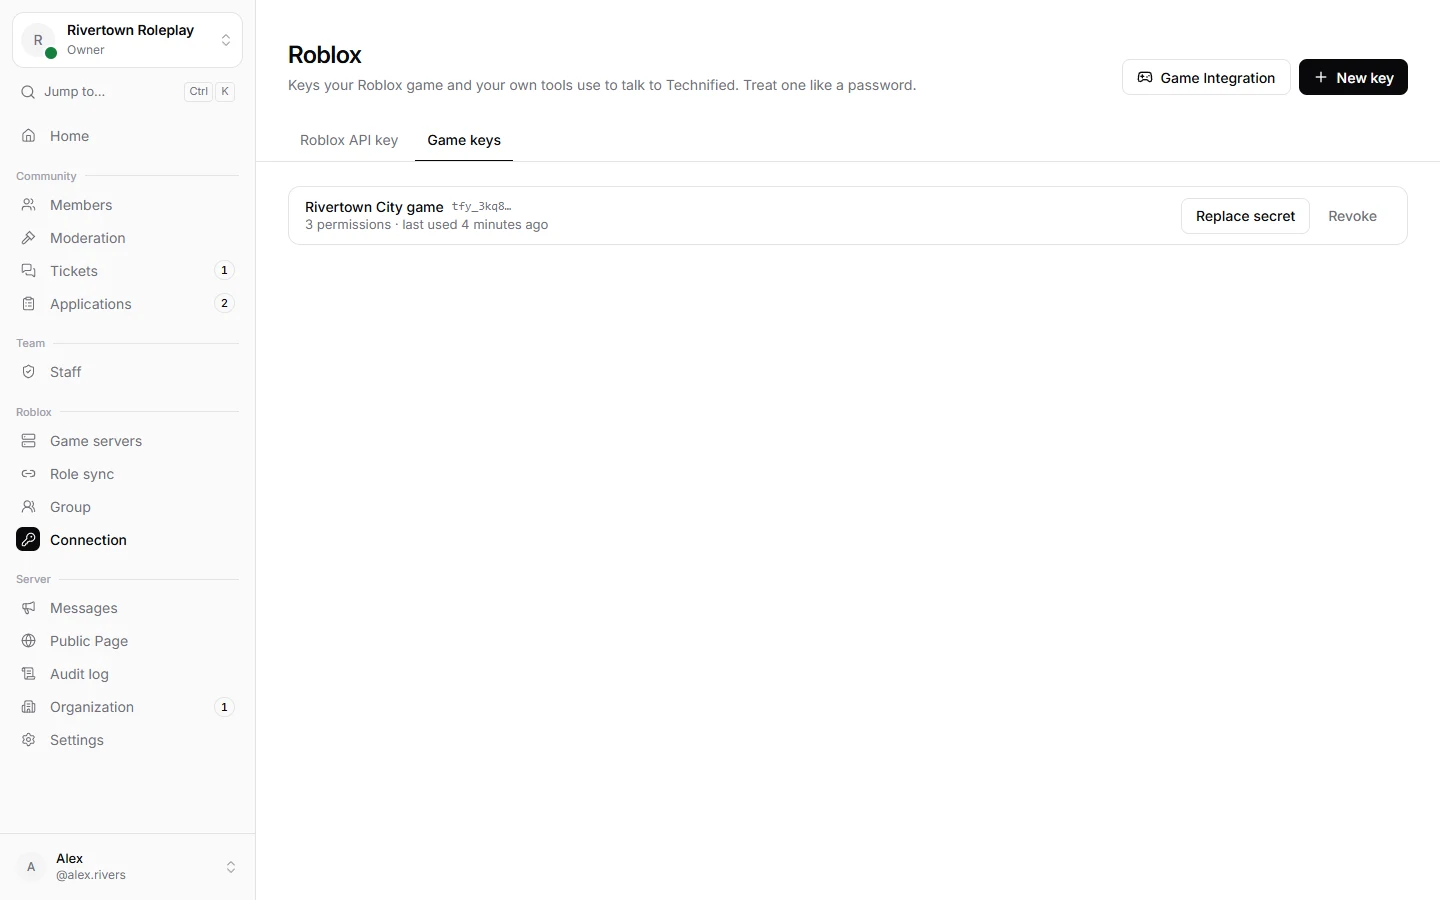
- In the dashboard, open your server, then Connection → Game keys. You need the permission to create game keys.
- Press New game key. Despite the name, a key works for any program, not only games.
- Give it a Name that says what uses it, like “Website” or “Our Discord bot”.
- Under What the key may do, tick only what your program needs. A program that only checks bans needs nothing more than “See punishments”. You can only give a key what you may do yourself.
- Copy the key. It starts with
tfy_and is shown only once.
Keeping it safe
Careful
- Keep it on a server or in an environment variable. Never put it in a website’s JavaScript, a mobile app, or a Roblox LocalScript, where anybody can read it.
- Never post it in Discord or commit it to GitHub.
- Use one key per program, so you can turn off one without breaking the others.
- If a key may have leaked, revoke it in Game keys straight away and make a new one.
What a key can never do
Some things are always decided by a person, so no key can hold them: managing staff roles, creating keys, managing an organization, and punishing across an organization. Some endpoints are also for people only, like submitting an application or asking for leave; a key gets a refusal there.
A key is not ranked like a staff member. It can act on anybody the server could, so give it as few permissions as possible.
How actions show up
Everything a key does is written in the server’s audit log under the key’s name. When your program acts for a person, for example a moderator using your own tool, send an actor with their name, and Technified credits them too. See Examples.
Still stuck? Get help from the Technified team.